슬기형의 자바스크립트 기초강의 - 모달창 만들어보기 06

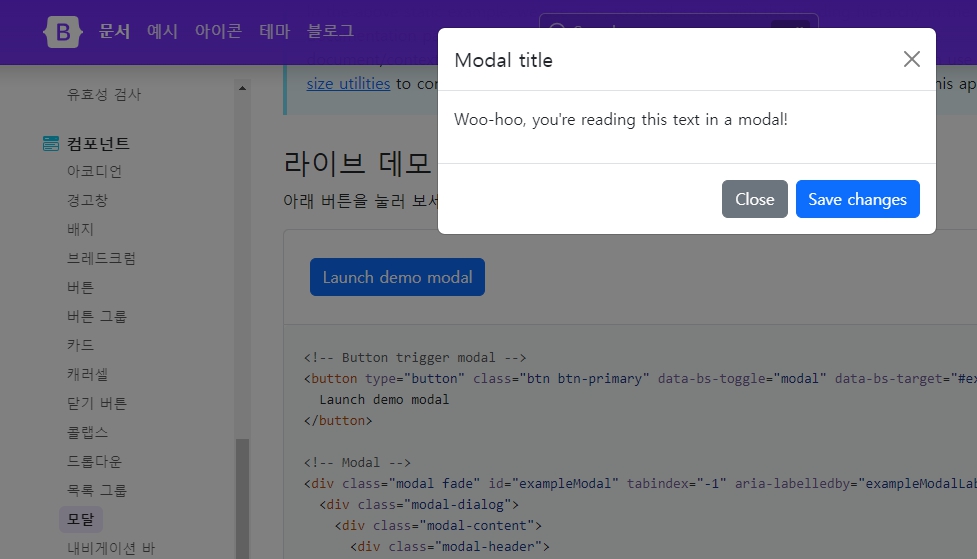
이번 포스팅은 모달 창 구현이다.
모달, 팝업 골이 타분하게 구분하지는 않겠다. 개념도 다들 제각각이다.
누군가는 모달을 부모 - 자식 창 관계라고 말하고, 부트스트랩 기준으로 보면 맞는 말이다.
팝업은 어떤 내용을 강제로 유저에게 알리는 기능을 말한다.
그런데 어떤 사이트 또는 프로젝트를 가면 모달이란 단어를 모르는 사람들도 많다. 팝업과 알림을 같은 것으로 이해하는 사람들도 많다. 머든 관계없다.
이번에 구현할 기능은 메인화면에서 버튼을 클릭하면 모달 창이 뜨고, 그 창에서 또 버튼을 클릭 통신을 해오는 정도의 기능을 구현해 본다.
참고로 fetch 기능을 사용해 https://baconipsum.com 사이트에서 api로 data를 받아와 예제에 사용하도록 하겠다.
fetch("https://baconipsum.com/api/?type=all-meat¶s=200&format=html")
    .then(response => response.text())
    .then(result => loremIpsum.innerHTML = result.substring(0,1000));
소스
<!DOCTYPE html>
<html lang="en">
<head>
<meta charset="UTF-8">
<title>Modal 기능구현</title>
<style>
#modal.modal-overlay {
width: 100%;
height: 100%;
position: absolute;
left: 0;
top: 0;
display: none; <!-- 버튼으로 컨트롤 -->
flex-direction: column;
align-items: center;
justify-content: center;
background: rgba(255, 255, 255, 0.25);
box-shadow: 0 8px 32px 0 rgba(31, 38, 135, 0.37);
backdrop-filter: blur(1.5px);
-webkit-backdrop-filter: blur(1.5px);
border-radius: 10px;
border: 1px solid rgba(255, 255, 255, 0.18);
}
#modal .modal-window {
background: rgba( 69, 139, 197, 0.70 );
box-shadow: 0 8px 32px 0 rgba( 31, 38, 135, 0.37 );
backdrop-filter: blur( 13.5px );
-webkit-backdrop-filter: blur( 13.5px );
border-radius: 10px;
border: 1px solid rgba( 255, 255, 255, 0.18 );
width: 400px;
height: 500px;
position: relative;
top: -100px;
padding: 10px;
}
#modal .title {
padding-left: 10px;
display: inline;
text-shadow: 1px 1px 2px gray;
color: white;
}
#modal .title h2 {
display: inline;
}
#modal .close-area {
display: inline;
float: right;
padding-right: 10px;
cursor: pointer;
text-shadow: 1px 1px 2px gray;
color: white;
}
#modal .content {
margin-top: 20px;
padding: 0px 10px;
text-shadow: 1px 1px 2px gray;
color: white;
}
</style>
</head>
<body>
<div id="container">
<h2>Lorem Ipsum</h2>
<button id="btn-modal">모달 창 열기 버튼</button>
<div id="lorem-ipsum"></div>
</div>
<div id="modal" class="modal-overlay">
<div class="modal-window">
<div class="title">
<h2>모달(팝업)</h2>
</div>
<div class="close-area">X</div>
<div class="content">
<button id="btnGetContent">데이터조회</button>
<p id="modalContent">조회되는 값</p>
</div>
</div>
</div>
<script>
const loremIpsum = document.getElementById("lorem-ipsum");
fetch("https://baconipsum.com/api/?type=all-meat¶s=200&format=html")
    .then(response => response.text())
    .then(result => loremIpsum.innerHTML = result.substring(0,1000));
const modal = document.getElementById("modal");
const modalContent = document.getElementById("modalContent");
//모달창 버튼을 클릭하면 모달을 나타나게 한다.
const btnModal = document.getElementById("btn-modal");
btnModal.addEventListener("click", e =>{
    modal.style.display = "flex";
    modalContent.innerHTML = "";  //모달창에 있던 내용을 초기화 한다.
});
//모달창의 x를 누르면 모달창이 사라진다.
const closeBtn = modal.querySelector(".close-area");
closeBtn.addEventListener("click", evt => {
modal.style.display = "none";
});
//모달창의 바깥 영역을 클릭하면 꺼지게 한다.
modal.addEventListener("click", e=>{
const evTarget = e.target;
if(evTarget.classList.contains("modal-overlay")){
modal.style.display="none";
}
});
// esc 버튼을 누르면 모달창 닫기
window.addEventListener("keyup", e=>{
if(modal.style.display == "flex" && e.key=="Escape"){
modal.style.display="none";
}
});
//모달창의 데이터 조회
btnGetContent = document.getElementById("btnGetContent");
btnGetContent.addEventListener("click", e =>{

    //조회 버튼을 클릭하면 통신으로 자료를 가져와서 <p id="btnGetContent"> 태그에 붙힌다.
    fetch("https://baconipsum.com/api/?type=all-meat¶s=3&start-with-lorem=1&format=html")
        .then(response => response.text())
        .then(result => modalContent.innerHTML = result.substring(0,500));
});
</script>
</body></html>실행
설명
1. <style> 부분 중 #modal.modal-overlay { 안에 display 부분을 컨트롤. 모달을 닫고 열고 하는 기능을 구현
2. 최초에 fetch로 사이트에서 자료를 가져와서 html 본문에 붙인 상태로 시작
const loremIpsum = document.getElementById("lorem-ipsum");
fetch("https://baconipsum.com/api/?type=all-meat¶s=200&format=html")
.then(response => response.text())
.then(result => loremIpsum.innerHTML = result.substring(0,1000));3. 모달 창 열기 버튼 클릭 이벤트 발생 시 모달을 연다.
const btnModal = document.getElementById("btn-modal");
btnModal.addEventListener("click", e =>{
modal.style.display = "flex";
modalContent.innerHTML = ""; //모달창에 있던 내용을 초기화 한다.
});4. 모달에 붙어 있는 조회 버튼을 누르면 통신으로 데이터를 가져와서 모달창 <p> 소스에 붙인다.
//모달창의 데이터 조회
btnGetContent = document.getElementById("btnGetContent");
btnGetContent.addEventListener("click", e =>{
//조회 버튼을 클릭하면 통신으로 자료를 가져와서 <p id="btnGetContent"> 태그에 붙힌다.
fetch("https://baconipsum.com/api/?type=all-meat¶s=3&start-with-lorem=1&format=html")
.then(response => response.text())
.then(result => modalContent.innerHTML = result.substring(0,500));
});5. 모달에 x를 누르거나 모달 창이 디스플레이된 상태에서 모달 바깥쪽을 클릭하면 모달창이 닫히는 기능을 구현했다.
//모달창의 x를 누르면 모달창이 사라진다.
const closeBtn = modal.querySelector(".close-area");
closeBtn.addEventListener("click", evt => {
    modal.style.display = "none";
});
실무에서는...
실무에서는 모달창에 자료 검색 input 박스와 검색버튼을 만들어서 특정데이터를 조회한다. 그 이후 그 자료를 모달 창(그리드)에 보여주고 유저는 선택. 선택된 값을 부모 창으로 넘기고 모달창을 닫는 로직을 많이 구현한다.
대부분 프로젝트나 사이트마다 프레임워크나 공통된 기능을 구현해서, 사용하기에 원리정도만 이해하는 용도로 포스팅을 했다.
'Web Front 개발공부 > HTML과 JAVASCRIPT' 카테고리의 다른 글
| 슬기형의 자바스크립트 기초강의 - 변수 var, let, const 07 (0) | 2023.01.09 |
|---|---|
| 슬기형의 자바스크립트 기초강의 - 문자열 공백처리 04-2 (0) | 2023.01.08 |
| 슬기형의 자바스크립트 기초강의 - JSON 문자열 객체로 변환하기 05 (0) | 2023.01.07 |
| 슬기형의 자바스크립트 기초강의 - 문자열 다루기 04-1 (0) | 2022.12.30 |
| 슬기형의 자바스크립트 기초강의 - 확인 및 취소 다이얼로그 03 (0) | 2022.12.26 |


댓글